
7 Best Tips to Hire Web Developer in India
7 Best Tips to Hire Web Developer in India A web developer will assist you to many important tasks that you may not be able
GMB is a free tool that lets you manage how your business appears on Google Search and Maps. That includeks adding your business name, location, and hours; monitoring and replying to customer reviews; adding photos; learning where and how people are searching for you, and more.
If you’re just getting started with local SEO, your Google My Business listing is a great place to focus your early efforts. After all, when people search for a product or service near them, they’re usually very close to making a purchase — One in Two People who conduct a local search (think “watch repair near me”) visit a store that day. So it’s important the information about your business that shows up when people search Google is as accurate, complete, and optimized as possible.
To learn how to create your Google My Business account, verify your business, and make its listing as strong as possible, read on.
GMB is completely free to use. The only requirement for using it is that you must have some face-to-face interaction with your customers — in other words, you can’t operate 100% online.
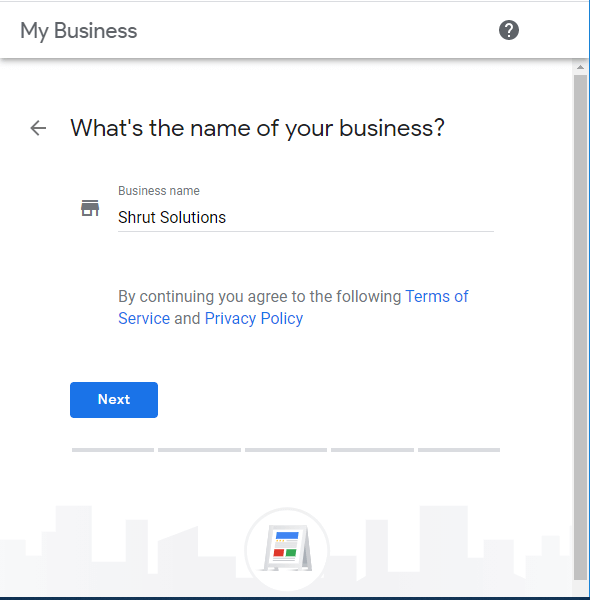
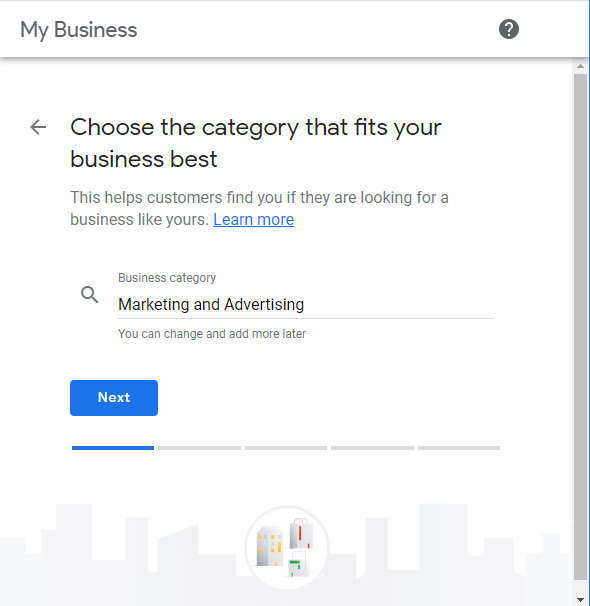
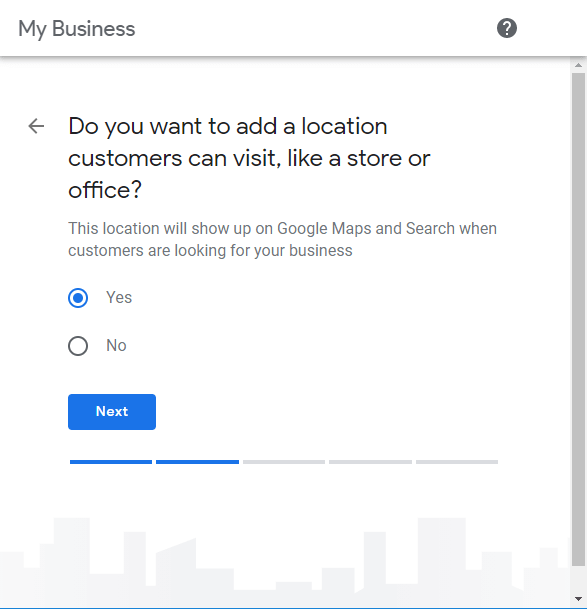
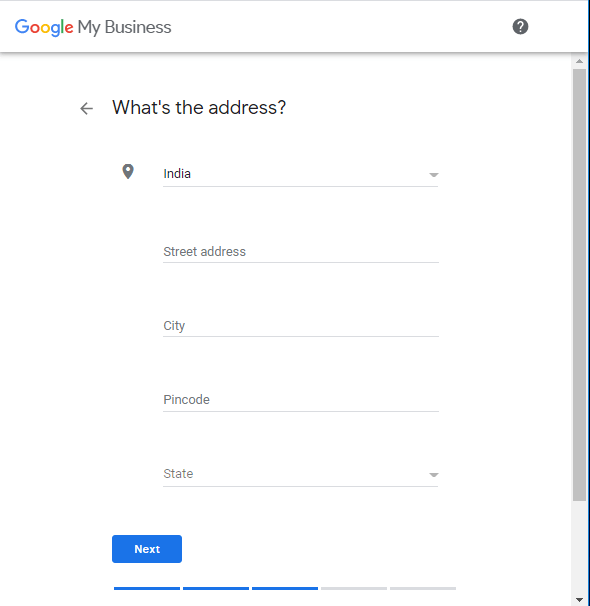
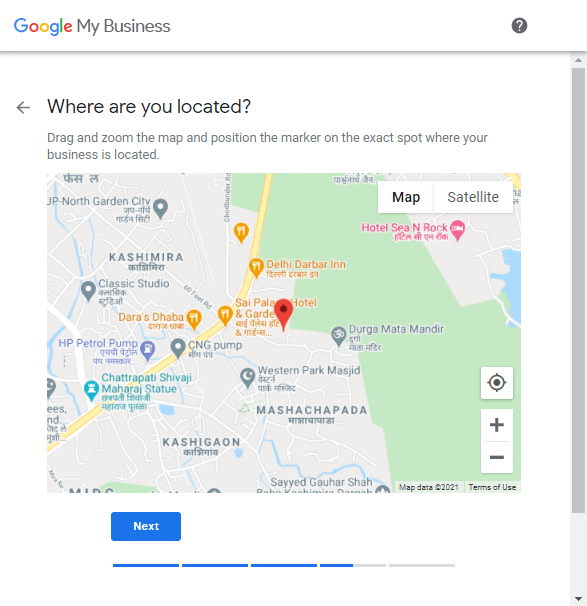
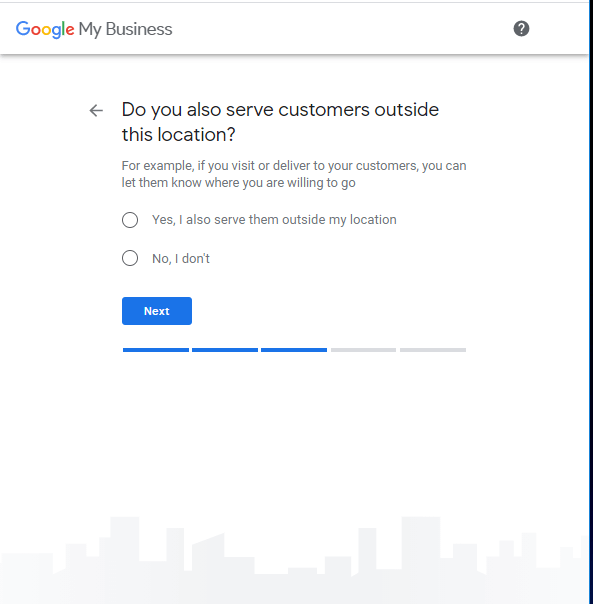
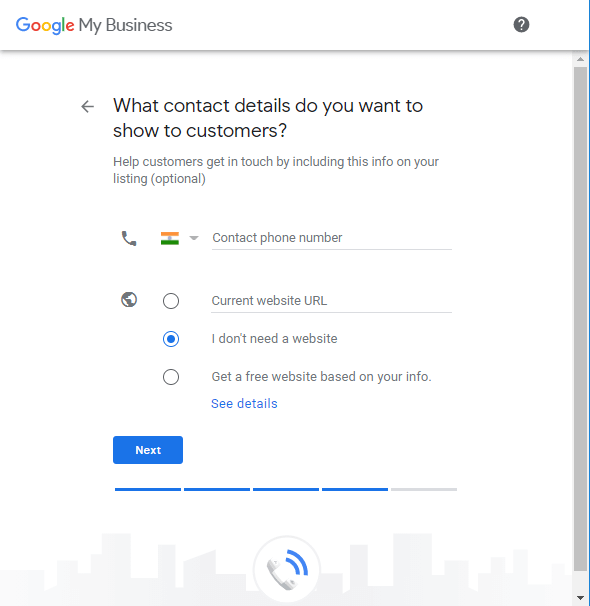

There are several ways to verify your GMB listing:
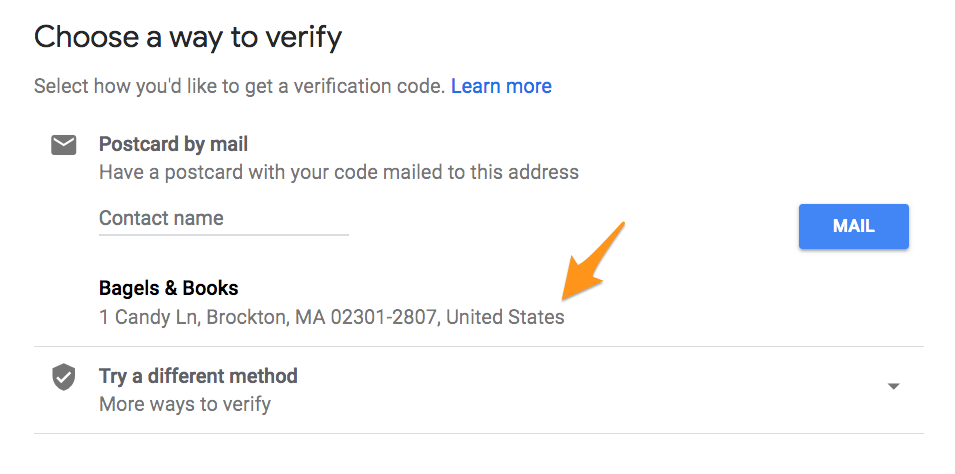
If your postcard never shows up, or you lose it, you can request a new code by signing into Google My Business and clicking the “Request another code” blue banner at the top of the screen.
Google lets some businesses verify their location by phone. If you’re eligible, you’ll see the “Verify by phone” option when you start the verification process.
Google lets some businesses verify their location by phone. If you’re eligible, you’ll see the “Verify by email” option when you start the verification process.
If you’ve already verified your business with Google Search Console (a free tool that lets you manage your website’s search performance and health), you might be able to instantly verify your email.
If you operate more than 10 locations for the same business — and you’re not a service business or an agency managing locations for multiple businesses — you might be eligible for bulk verification.
Once you’ve verified your business, it’s time to finish fleshing out your profile.
Go to the Google My Business dashboard, click the listing you’d like to work on, select “Info,” and then choose a section to fill out or update.
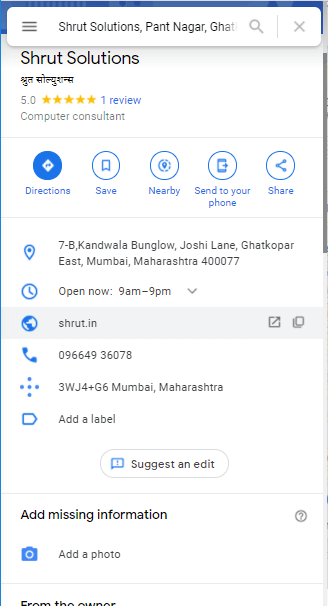
Add as much information and media as you can, including a business profile photo, the area you serve, your hours, attributes (e.g. “wheelchair accessible,” “free wifi”), the day and year you opened, and a public phone number and website URL.
Anyone can “suggest an edit” to your listing, so it’s important to A) get everything right the first time (so you don’t encourage random people to make their own changes) and B) periodically log into your GMB dashboard and make sure all the details look right.
At any point in time, you can edit your business profile by logging into your GMB dashboard, clicking on “Info,” clicking the pencil next to the field you’d like to edit, making your change, and then choosing “Apply.”
According to Google, businesses with photos see 35% more clicks to their website and 42% higher requests for driving directions in Google Maps.
Photos should be at least 720 pixels wide by 720 pixels high and JPG or PNG files.
Not sure how many pictures to add — or what they should be of?
Your Google My Business cover photo is one of the most important, as it shows up front and center on your listing.
Your profile photo is what appears when you upload new photos, videos, or review responses.
Along with your profile and cover photos, you can and should upload other pictures to make your listing more informative and engaging.
You can also add videos. Videos must be:
Videos can add some variety to your profile and make you stand out among other businesses in your category; however, don’t worry if you don’t have any — unlike photos, they’re not a “must have.”
One of the best ways to encourage future customers to leave positive reviews? Respond to current ones. Not only does leaving an appreciate response show the original reviewer you’re thankful for their support, it also makes that positive review stand out on your listing and influences people to leave their own reviews.
Here’s a sample reply to a satisfied customer:
Thank you for your business, [name]! We’re so glad you enjoyed [product, e.g. “the blueberry pie”] — it’s one of our favorites, as well. Hope to see you back at [business name] soon.
You should also respond to negative reviews to show you take them seriously and placate the unhappy buyer. But make sure you’re extremely courteous — attacking them back will only make you look unprofessional and their review more credible.
Thank you for the feedback, [name], and I’m incredibly sorry [product/experience] did not meet your expectations. [If you’ve made a change, mention it here — e.g., “We’re now double-checking orders to make sure everyone gets exactly what they asked for.”] If you’d like to come back in, we’d be happy to give you [product] on the house. In any case, thanks for your business, and I hope we can do better next time.
Google My Business is also available in app form for both iOS and Android.
You can use the app to:
You cannot use the app to:
If you’re confused about the many names and options for managing your Google presence, you’ve got a right to be. Google Places used to be Google’s tool for owners to manage their business profiles, but it was retired in 2014. Now Google My Business is the central hub to manage how your business appears on Google Search, Maps, and Google+.
So, what’s Google+? It’s Google’s social network (the closest example is probably Facebook). You can join or start Communities — public or private groups organized around a theme, like Knitting — and follow or create Collections — think Pinterest boards.
A Google+ account for your business lets you interact with niche groups and post pictures and updates. In other words, it’s like a Facebook page for your business. You can access your Google+ account from your Google My Business dashboard (but a Google+ account isn’t necessary to have a GMB account).
Here’s the TL;DR:
Do you need a Google+ account? No — and if you’re short on time, it might be better to focus on other marketing and/or social media channels.
Do you need a Google My Business account? If you’re targeting local customers, I highly recommend it.

7 Best Tips to Hire Web Developer in India A web developer will assist you to many important tasks that you may not be able

Stuck with the Net4india Domain? We Can Help You Net4india was one of India’s most notable area recorders and web facilitating organizations. In the course

Effective 7 Steps For An Social Media Marketing Plan Social media is a vital marketing channel for businesses of all sizes. The common question a
20 Different Types of Websites Part 2 In this first part, 20 Different Types of Websites Part 1 we explored ten types of website, focusing
20 Different Types of Websites Part 1 What are the Different Types of Website? There are many different types of website; and while any attempt
How to Move HTTP to HTTPS on WordPress Step-by-Step Guide for Securing Your WP Site Learning how to move your website to HTTPS is an
Create an email account in cPanel Overview Note: This interface is part of cPanel’s Email Account interface (cPanel >> Home >> Email >> Email Accounts). Log
Configure your network settings to use Google Public DNS When you use Google Public DNS, you are changing your DNS “switchboard” operator from your ISP
cPanel email account setup in Microsoft Outlook 2013 1. Open Outlook, select tab File > Add Account: 2. Check the option E-mail Account and fill in the corresponding fields: Your Name: the
Subscribe & Join Our Newsletter For News, Updates and special offers
GET YOURSELF VISIBLE ON INTERNET. CONNECT WITH US TO GET YOUR JOURNEY OF ONLINE PRESENCE STARTED.